|
Rabidkitty Sims 2 |
|
|
How To Make Jean Capris
|
||
|
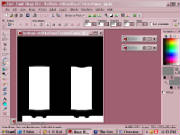
open the file named: bottom~stdMatBaseTextureName_alpha
in your paint program
|
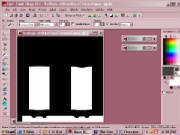
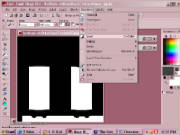
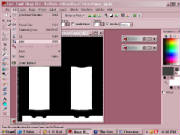
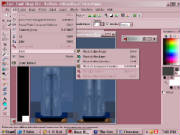
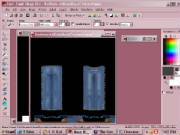
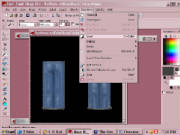
Edit - Paste - Paste As Transparent Selection move the item until it matches up with the jeans Selections - Invert fill in the shoes with black along with any other lines and remove the mask, because we don't want to add
it to the capris click on black space with magic wand tool |
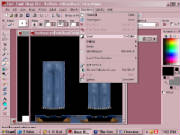
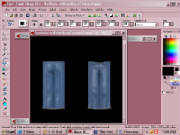
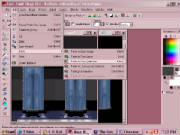
Selections - Invert Edit - Copy go to your original capris, Edit - Paste - Paste As New Selection, move into position over old capris, remove
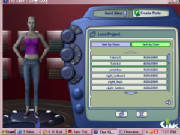
mask save your new capri file over the old one, but don't close the window for it as you may need to do more editing open TS2 Body Shop, then create parts, then load saved project, then open your new capri file turn it all the way around to make sure there isn't anything showing that should/shouldn't |
|
If you are happy with the way it looks then close out your paint program, but the only thing
that should be saved is your new capris (don't save anything else) then upload your new capris and enjoy!
|
||

